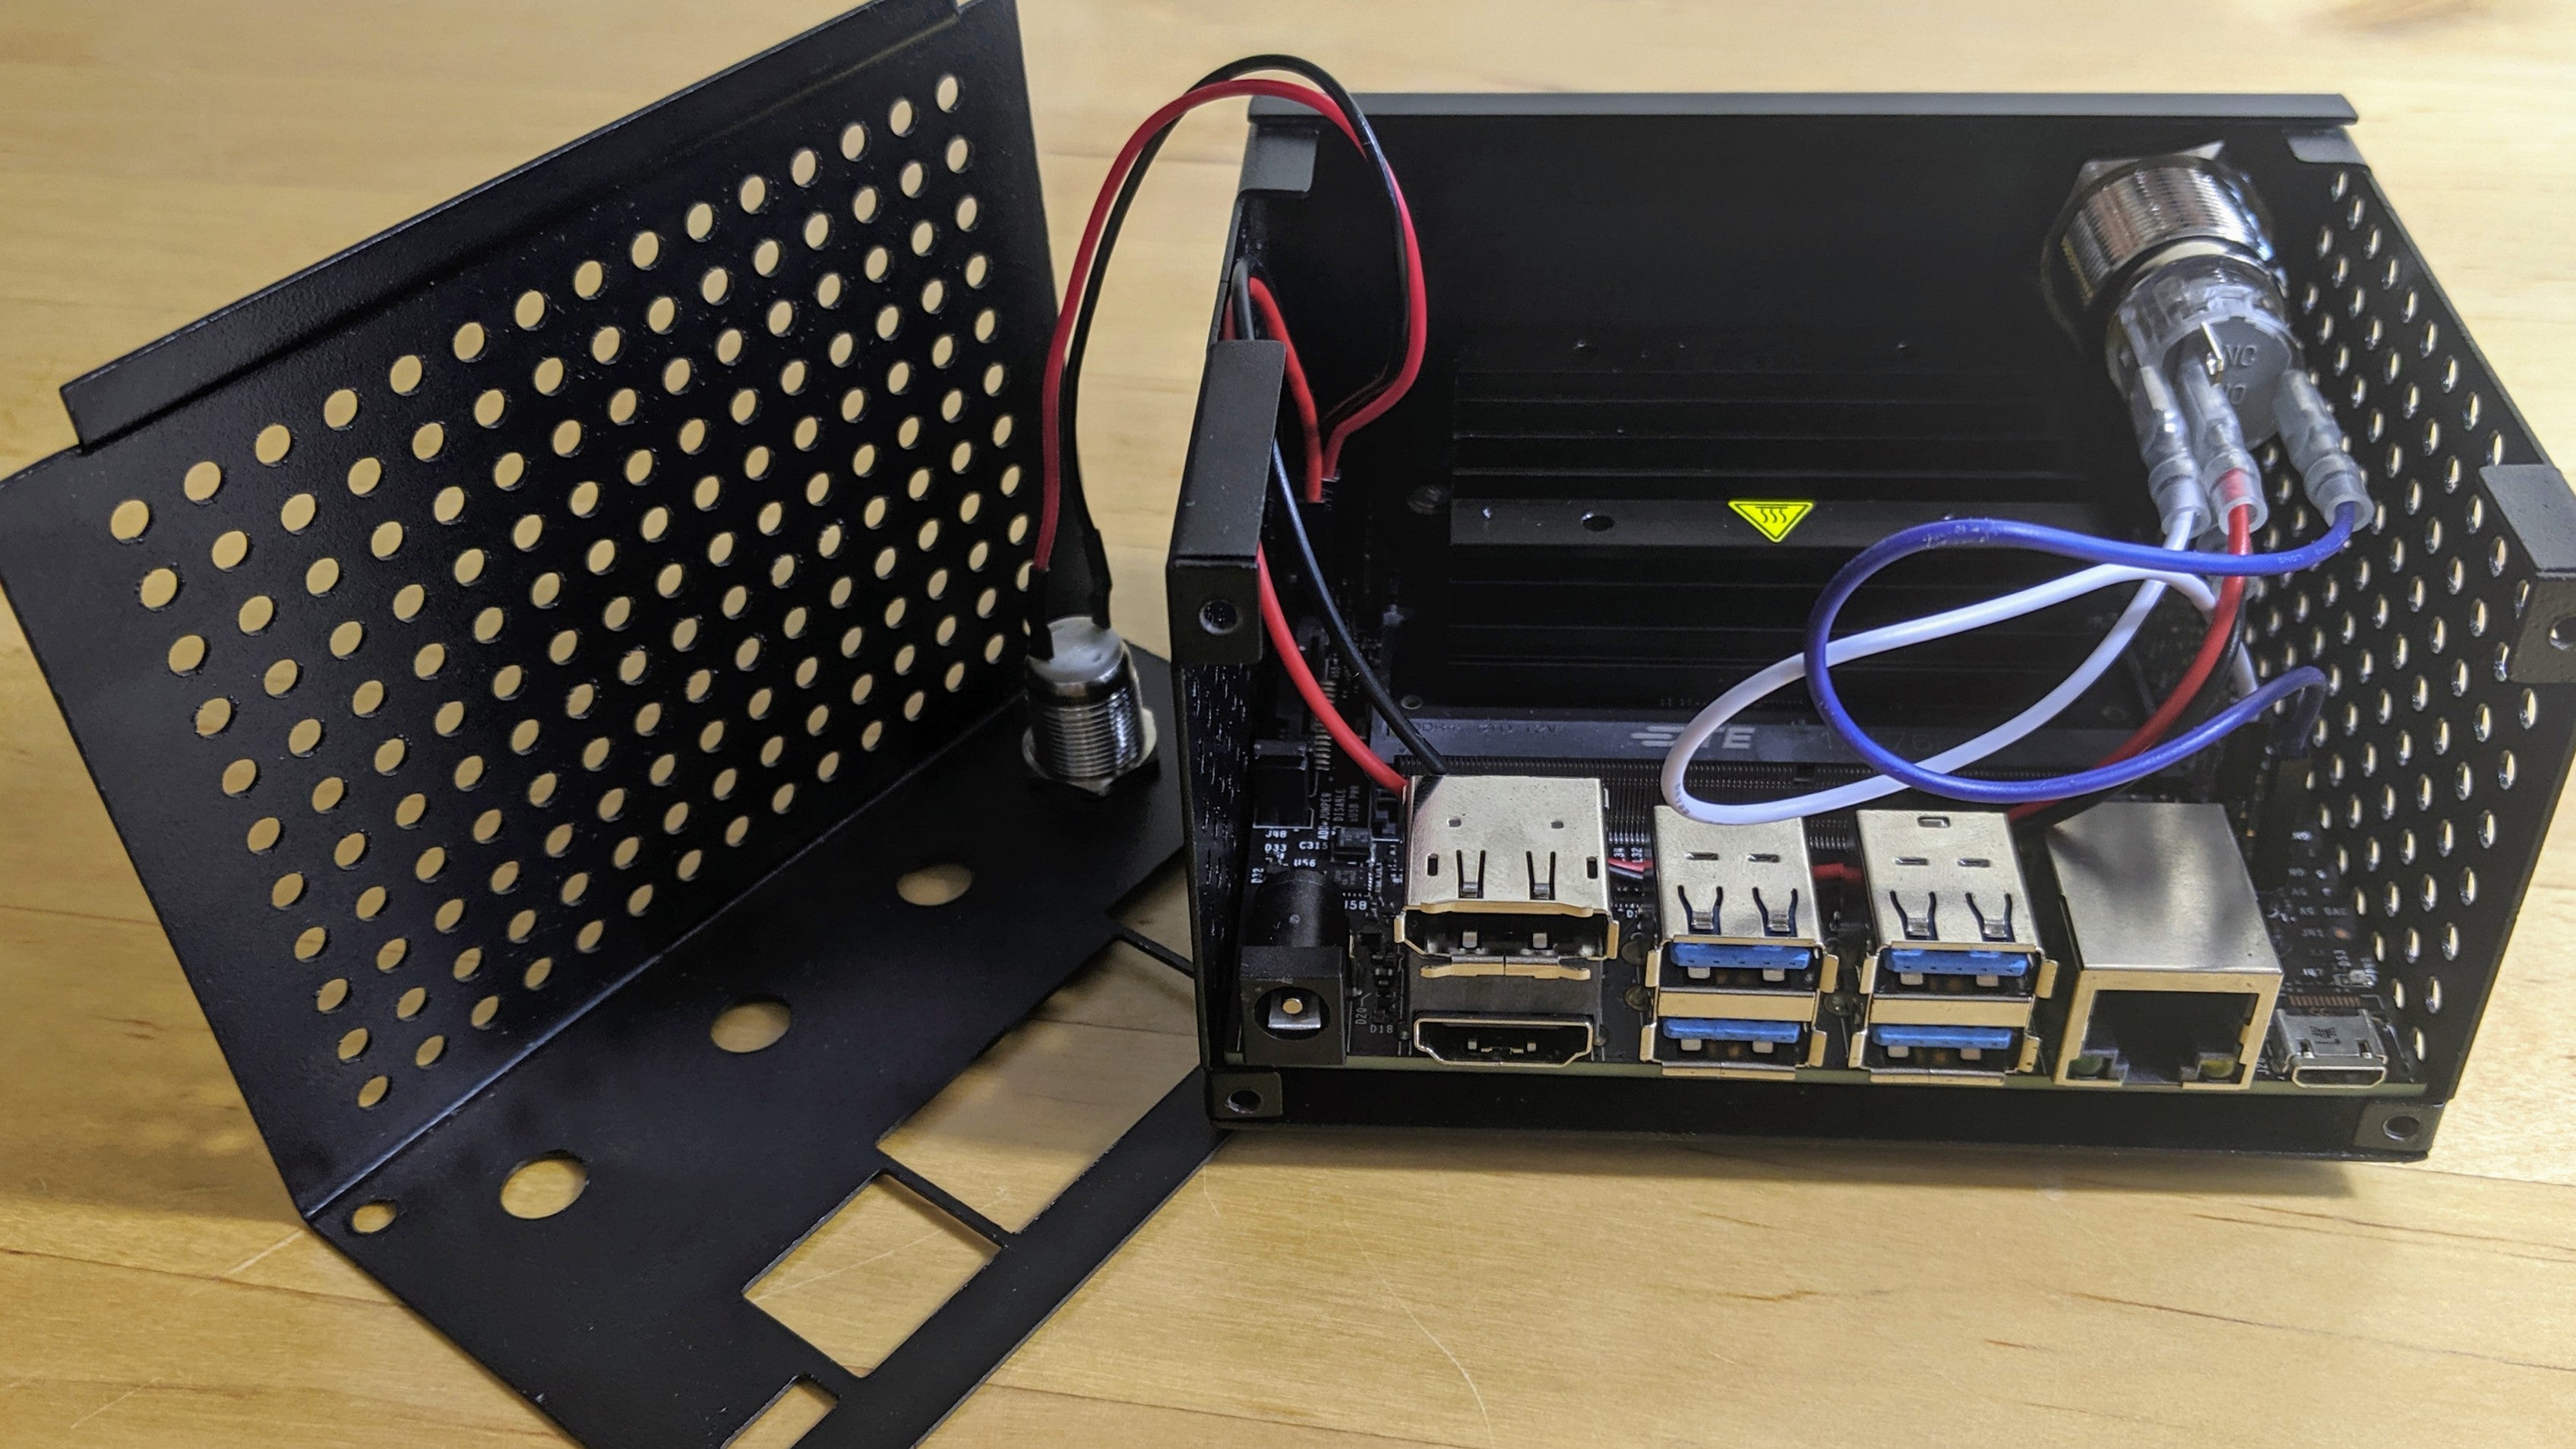
The Geekworm N100 Casing was specially designed for the NVIDIA Jetson Nano Developer Kit. It includes power control and reset buttons, with spacing for the installation of cooling fans. This guide will help you install your Jetson Nano into the N100 Casing!
Video Tutorial
Here's a video by Geekworm themselves showing the full installation process.
Installation Notes
1. Connecting the Power Control and Reset Switch
- To make use of the casing’s power control switch, the “AUTO ON” functionality of the Jetson Nano has to be disabled by inserting one of the jumper caps into the “AUTO ON” position of the pins at J40.
- The reset switch should be connected to the “RST” position of the pins at J40.
 Photo by Geekworm
- The red and black cables of the power control switch should be connected to the “ON” position of the pins at J40. The blue and white cables should be connected to the “3.3V” and “GND” pins at J41 respectively.
 Photo by Geekworm
2. Using the DC Barrel Jack for Power
- If the DC Barrel Jack is used to power the Jetson Nano instead of the Micro USB port, a jumper cap must be inserted on the pins at J48 for the board to receive power from the DC Barrel Jack.
3. Cooling Fan Installation
- A pair of tweezers and screws with nuts are provided for the installation of a 20mm cooling fan on the heatsink of the Jetson Nano if necessary.
And we are done! Enjoy your well-protected Jetson Nano! 😄


1 comment
siew yin seeto
Any video for the B02 board